Air Shields
Resuscitaire Cleaning Guide April 2020
Cleaning Guide
2 Pages

Preview
Page 1
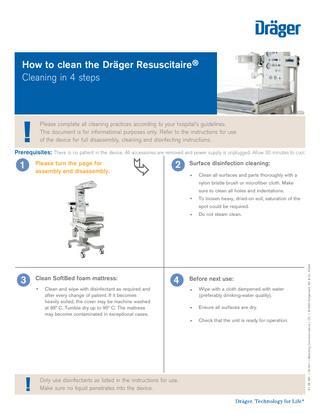
How to clean the Dräger Resuscitaire® Cleaning in 4 steps
!
Please complete all cleaning practices according to your hospital’s guidelines. This document is for informational purposes only. Refer to the instructions for use of the device for full disassembly, cleaning and disinfecting instructions.
Prerequisites: There is no patient in the device. All accessories are removed and power supply is unplugged. Allow 30 minutes to cool.
1
Please turn the page for assembly and disassembly.
2
Surface disinfection cleaning: •
Clean all surfaces and parts thoroughly with a nylon bristle brush or microfiber cloth. Make sure to clean all holes and indentations.
•
To loosen heavy, dried-on soil, saturation of the spot could be required.
3
Clean SoftBed foam mattress: •
!
4
Clean and wipe with disinfectant as required and after every change of patient. If it becomes heavily soiled, the cover may be machine washed at 95° C. Tumble dry up to 95° C. The mattress may become contaminated in exceptional cases.
Only use disinfectants as listed in the instructions for use. Make sure no liquid penetrates into the device.
Do not steam clean.
Before next use: •
Wipe with a cloth dampened with water (preferably drinking-water quality).
•
Ensure all surfaces are dry.
•
Check that the unit is ready for operation.
91 08 691 | 20.04-1 | Marketing Communications | CC | © 2020 Drägerwerk AG & Co. KGaA
•
1 Disassembly 1
Remove the suction bottle, tubing, and filter (if present), from the side of the device.
7 If applicable, install a new
disposable or clean reusable suction bottle, tubing, and filter.
5
Remove the mattress from the bassinet.
3 Return the mattress to the weighing platform.
Step 2, 3 and 4, please turn the page 2
Remove the bassinet front panel: Raise the bassinet front panel, and then swivel it down At the corners, press up on the release buttons. Pull the bassinet front panel straight out, and remove it from the unit.
3
Pull both bassinet side panels straight up, and remove them from the unit.
4
Remove the bassinet back panel – Raise the bassinet back panel straight up until the bottom pins are next to the slots in the corner brackets. – Remove the bassinet back panel from the unit.
6
Return the bassinet front panel to the unit: Slide the bassinet front panel into the front of the bassinet until the release tabs catch. Raise the bassinet front panel into position.
5 Push the bassinet side panels
4
Insert the pins of the bassinet back panel in the corner brackets, and return it to the unit.
6
If applicable, disconnect the scale from the scale display module and remove the scale platform.
7
Remove the x-ray tray.
2
If applicable, reinstall scale.
1
Return the x-ray tray.
straight down into their slots.
Assembly