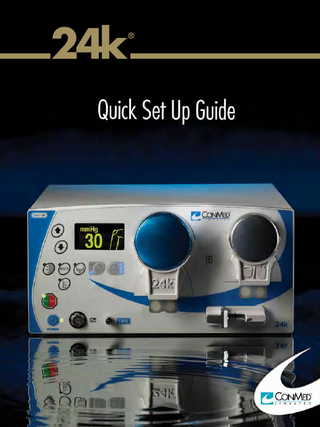
Quick Set Up Guide
4 Pages

Preview
Page 1
24k
1
2
Inflow/Outflow/Shaver Suction Tubing Set Installation
Choose Surgery Preset
With pronged side of the inflow tubing cassette facing the console, position the tubing loop over the large blue rotor. Pull cassette down so that the cassette snaps into place.
With pronged side of outflow/ suction tubing cassette facing the console, position the tubing loop over the small silver rotor. Pull the cassette down so that the cassette snaps into place.
This button is used to select preset surgical settings. Pressing this button toggles between the preset selections for knee, shoulder, small joint, and hip surgical procedures. Each preset adjusts the pressure, outflow and shaver suction for the specified procedure. Note: The Knee preset also allows the pump to operate in Wave Mode designed for optimum flow in knee surgery. Press the Run/Stop button to start and stop the flow of the pump. When the green LED is lighted the pump is in the Run position.
Push on the cassette tab to insure that it is latched.
Knee/Wave Mode
Shoulder
Small Joint
Hip
» Close the clamps on the bag spike line. » Spike the fluid bags. » To prime the tube set, press the Run/Stop button until the air is purged from the line, press the Run/Stop button again to stop the pump. » Connect the patient ends of the tube sets to the proper instruments.
Intended Use The ConMed Linvatec 24k® Irrigation System is intended to provide fluid distention, irrigation, and suction during diagnostic and operative knee, shoulder, hip, and small bone arthroscopic procedures, and fluid irrigation during laparoscopic procedures. Please review the 24k Instructions for Use Manual for complete operating instructions.
5
3
Installing the 24k® Shaver Sensor Clip the the shaver sensor on the shaver handpiece cable as close as possible to the shaver cable connector. Note: Do not clip the shaver sensor to the strain relief boot.
Waste Line Connect the waste line to the appropriate hospital waste collection mechanism.
Activate the shaver handpiece to confirm proper installation. The shaver icon will appear on the display screen when the shaver handpiece is activated.
4
TIPS Installation
Adjusting the Pressure Set Point Insert the luer connector of the TIPS line into the TIPS connector on the pump. Turn clockwise ½ turn until tight, but do not over tighten. Always perform a patency test on each new tube set. To increase the set pressure, press the front panel or remote control “Pressure Increase” button.
To decrease the set pressure, press the front panel or remote control “Pressure Decrease” button.
*Pressure setting can be adjusted from 10mmHg to 150mmHg in steps of 5mmHg.
Patency Test Perform a patency test on the TIPS tubing set by squeezing the pressure sensor balloon. The pressure should increase when the balloon is squeezed. Fold and hold the balloon, the pressure should be held at 50mmHg or greater for 10 to 15 seconds. If a drop of 5mmHg is seen, discard and replace with another TIPS tube set and repeat the test.
24k
Optional Operational Features The Declog function reverses suction to remove debris from the shaver blade.
The Clearfield button combines tamponade and lavage modes for a safe, fast response to blood and debris in the operative field.
The Drain function allows surgeons to control the rapid removal of fluid form the joint.
» Tap to raise pressure in the joint by 20mmHg to control bleeders.
» Remove shaver from the joint.
» Press and hold to activate drain.
» Hold to increase the flow rate to quickly clear the joint of debris and blood to maintain visibility.
» Turn shaver on. » Press shaver Declog button.
» Drain function continues until button is released.
Controlling Outflow and Suction Rates Press the Outflow and Shaver Suction buttons on the front panel or remote control to toggle the rates between off, low, medium, and high. Outflow
Shaver Suction
Low = 50 ml/min
Low = 500 ml/min
Medium = 150 ml/min
Medium = 850 ml/min
High = 300 ml/min
High = 1200 ml/min
© 2010 Linvatec Corporation, a subsidiary of ConMed Corporation, 01/2010, COS 6024 Rev. 2