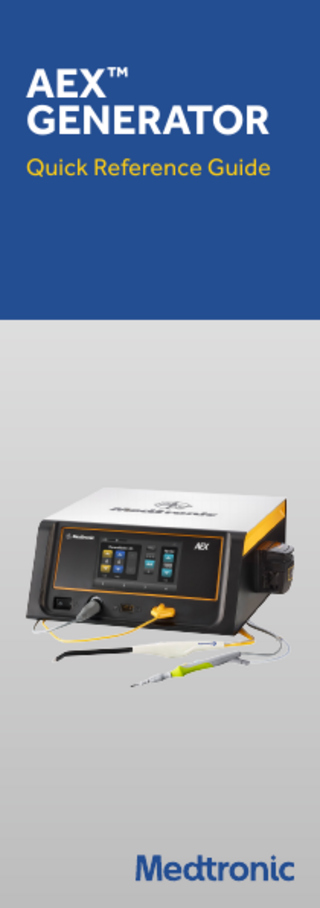
Quick Reference Guide
4 Pages

Preview
Page 1
AEX™ GENERATOR Quick Reference Guide
AEX™ GENERATOR Quick Reference Guide
Power
Aquamantys™ port
PlasmaBlade port
Touch screen display
Patient return electrode port
Pump
™
Set Up 1. Place the AEX™ Generator on a flat, stable surface 2. Ensure power switch is “off” 3. Connect power cord to properly grounded receptacle 4. Set the power switch to “on” 5. Unit will conduct self test Warning: Improper grounding may result in equipment damage, fire at the receptacle, or injury to the patient or user.
If the optional footswitch is used, plug the wireless receiver into the footswitch connector on the back of the generator. While using a footswitch, RF power will be delivered via the handpiece.
AEX™ GENERATOR Quick Reference Guide
PlasmaBlade™ 1. Plug in patient return electrode 2. Plug in PlasmaBlade™ device 3. Adjust Cut and Coag output levels accordingly Warning: Refer to the manufacturer’s instructions when applying the patient return electrode. Qualified personnel should make the final decision on patient return electrode placement. Do not depend solely on the AEX™ illumination indicator.
Aquamantys™ 1. Plug in Aquamantys™ device 2. Load Saline Pump
V-shaped segment
a. Raise pump head b. Load pump segment. Locate black tab on tubing and place to the left of the pump. Locate the white tab on tubing and place to the right of the pump. Align the tube on the roller and along the v-shaped channel of the pump chamber, holding the tubing down as shown above. c. Close the pump head d. Verify proper alignment Warning: Do not attempt to load or adjust the positioning of the pump segment of the disposable bipolar device in the pump head while the pump head rotor is turning. 3. Spike the saline bag 4. Squeeze the drip chamber once or twice to a level of at least one-third full 5. Press the “prime” button to prime the device 6. Select the desired Bipolar power settings 7. Select saline flow rate (unit defaults to medium flow setting if no rate is selected) Warning: Lack of saline flow from both of the electrodes can impact tissue effect and may damage the electrodes during device activation. Set the RF power to the lowest setting for desired tissue effect to avoid overtreatment.
Troubleshooting Error Codes Error Code E3*
Error code E10*
Patient return electrode has poor connection, follow these steps:
Handpiece needs to be primed before performing Transcollation™, follow these steps:
1. Follow the manufacturer’s instructions 2. Verify that the patient return electrode is connected to the Generator 3. Verify the patient return electrode is making proper contact with patient 4. Disconnect and reconnect the patient return electrode and Generator
1. Press Prime button on the display 2. Allow the priming sequence to complete or press Stop button to end priming 3. Attempt to activate the Aquamantys™ device again
*If the error code reappears, record the number and contact Medtronic Customer Service. Do not use generator. Refer to the AEX™ Operator’s Manual for detailed instructions and a complete list of warnings and error codes.
Medtronic Australasia Pty Ltd 5 Alma Road Macquarie Park, NSW 2113 Australia Tel: +61 2 9857 9000 Fax: +61 2 9889 5167 Toll Free: 1800 668 670
SCIONZ Authorised Sales Agent Unit B, 31 Cheshire Street, Parnell Auckland New Zealand Toll Free: 0800 724 669
Medtronic New Zealand Ltd Level 3 – Building 5, Central Park Corporate Centre 666 Great South Road Penrose, Auckland 1051 New Zealand Fax: +64 9 918 3742 Toll Free: 0800 337 807
© 2017 Medtronic All Rights Reserved. Printed in Australia. 09/2017
medtronic.com.au medtronic.co.nz