VERATHON Inc
GlideScope System Quick Start
Quick Start
2 Pages

Preview
Page 1
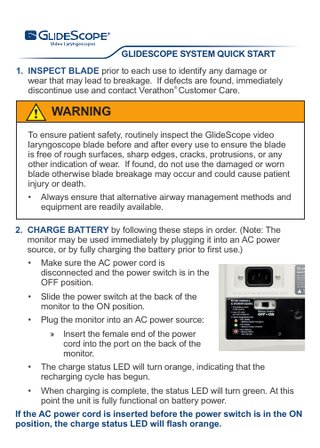
GLIDESCOPE SYSTEM QUICK START 1. INSPECT BLADE prior to each use to identify any damage or wear that may lead to breakage. If defects are found, immediately discontinue use and contact Verathon® Customer Care.
! WARNING To ensure patient safety, routinely inspect the GlideScope video laryngoscope blade before and after every use to ensure the blade is free of rough surfaces, sharp edges, cracks, protrusions, or any other indication of wear. If found, do not use the damaged or worn blade otherwise blade breakage may occur and could cause patient injury or death. •
Always ensure that alternative airway management methods and equipment are readily available.
2. CHARGE BATTERY by following these steps in order. (Note: The monitor may be used immediately by plugging it into an AC power source, or by fully charging the battery prior to first use.) •
Make sure the AC power cord is disconnected and the power switch is in the OFF position.
•
Slide the power switch at the back of the monitor to the ON position.
•
Plug the monitor into an AC power source: »» Insert the female end of the power cord into the port on the back of the monitor.
•
The charge status LED will turn orange, indicating that the recharging cycle has begun.
•
When charging is complete, the status LED will turn green. At this point the unit is fully functional on battery power.
If the AC power cord is inserted before the power switch is in the ON position, the charge status LED will flash orange.
GLIDESCOPE SYSTEM QUICK START LED State
Meaning
Steady green
The battery is fully charged and ready for use.
CHARGE STATUS
Flashing orange Flashing orange can indicate two states: • If the AC power is connected and the power CHARGE STATUS switch is off ("O" - to the left), the CHARGE STATUS LED will flash orange. The monitor will still function but the battery will not charge. •
Steady orange CHARGE STATUS
If the AC power is NOT connected and the CHARGE STATUS LED flashes orange, the battery is malfunctioning.
Charging in progress
3. CONNECT MONITOR •
If using the GVL® system, connect either end of the video cable to the GVL connector. Connect the video cable to the monitor connector.
•
If using the Cobalt system, connect the video cable to the monitor as shown in step #3. Then slide a single-use GVL Stat over the video baton.
To detach a GVL Stat from a Cobalt video baton, grasp the base of the video baton and pull firmly.
Stat
IMPORTANT! A used GVL Stat is a biohazard and should be disposed of in compliance with local protocols. M
verathon.com glidescope.com
Corporate Headquarters: Verathon Inc. 20001 North Creek Parkway Bothell, WA 98011, USA Tel: 800.331.2313 (US and Canada only) Tel: 425.867.1348 Fax: 425.883.2896
Manufacturer: Verathon Medical (Canada) ULC 2227 Douglas Road Burnaby, British Columbia Canada, V5C 5A9
Video baton
P EC Representative:
Verathon Medical (Europe) B.V. Linnaeusweg 11 3401 MS IJsselstein Netherlands Tel: +31.30.68.70.570 Fax: +31.30.68.70.512
GlideScope, the GlideScope symbol, GVL, Verathon, and the Verathon Torch symbol are trademarks of Verathon Inc. ©2013 Verathon Inc. GlideScope video laryngoscope systems are CE marked in accordance with the Medical Device Directive, and the Verathon Inc. quality system is Quality System Certified to ISO 13485:2003 standards. 0900-2077-05-60