Tips & Techniques
2 Pages

Preview
Page 1
AVL SINGLE USE
TIPS & TECHNIQUES WARNING When you are guiding the endotracheal tube (ETT) to the distal tip of the video laryngoscope, ensure that you are looking in the patient's mouth, not at the video monitor screen. Failure to do so may result in injury to the tonsils or soft palate.
4-STEP TECHNIQUE 1. Look in the Mouth: With the video laryngoscope blade in your left hand, introduce it into the midline of the oral pharynx. 2. Look at the Screen: Identify the epiglottis, and then manipulate the blade in order to obtain the best glottic view. 3. Look in the Mouth: Carefully guide the distal tip of the tube into position near the tip of the blade. 4. Look at the Screen: Complete the intubation, gently rotating or angling the tube as needed to redirect it.
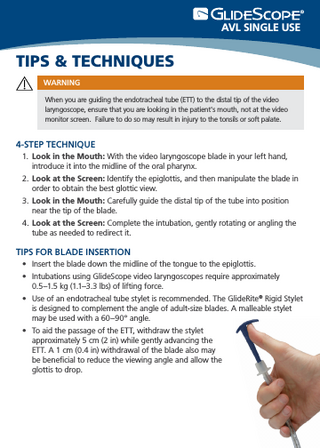
TIPS FOR BLADE INSERTION • Insert the blade down the midline of the tongue to the epiglottis. • Intubations using GlideScope video laryngoscopes require approximately 0.5–1.5 kg (1.1–3.3 lbs) of lifting force. • Use of an endotracheal tube stylet is recommended. The GlideRite® Rigid Stylet is designed to complement the angle of adult-size blades. A malleable stylet may be used with a 60– 90° angle. • To aid the passage of the ETT, withdraw the stylet approximately 5 cm (2 in) while gently advancing the ETT. A 1 cm (0.4 in) withdrawal of the blade also may be beneficial to reduce the viewing angle and allow the glottis to drop.
AVL SINGLE USE
QUICK START ATTACH THE VIDEO BATON & STAT 1. Select an appropriate Stat (single-use blade) and video baton. 2. Insert the video baton into the Stat, and then press the base of the video baton until it locks into place. 3. On the right rear side of the monitor, align the arrow on the cable and the arrow on the port, and then insert the cable connector until you hear a click.
PREPARE THE SYSTEM 4. On the monitor, press Power
.
5. Ensure that the battery is sufficiently charged. If necessary, connect the monitor directly to power. 6. Verify that the monitor displays an image from the video baton. A small portion of the Stat may be visible at the top or upper left.
RECORD VIDEO (OPTIONAL) 7. On the back of the monitor, remove the USB port cap, and then insert a USB flash drive into the port. 8. On the front of the monitor, press Record
.
Some components must be disinfected before use. For detailed instructions, refer to the Operations and Maintenance Manual.
800.331.2313 | verathon.com
0413
verathon.com
GlideRite, GlideScope, the GlideScope symbol, Verathon, and the Verathon Torch symbol are trademarks of Verathon Inc. © 2016 Verathon Inc. 0900‑4697-00‑60
Verathon Medical (Canada) ULC 2227 Douglas Road Burnaby, BC V5C 5A9 Canada Tel: 604.439.3009 Fax: 604.439.3039
Verathon Medical (Europe) B.V. Willem Fenengastraat 13 1096 BL Amsterdam, The Netherlands Tel: +31 (0) 20 210 30 91 Fax: +31 (0) 20 210 30 92