WALLACH
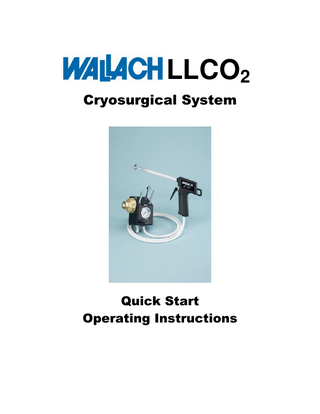
LLCO2 Cryosurgical System Quick Start Operating Instructions
Quick Start Operating Instructions
7 Pages

Preview
Page 1
LLCO2 Cryosurgical System
Quick Start Operating Instructions
We are happy you have chosen to purchase the Wallach LLCO 2 Cryosurgical System. Please review this brief instruction manual carefully prior to operation. Medical grade carbon dioxide from a non-siphon cylinder should be used. To begin using the LLCO2, be sure the filled gas cylinder has been kept at room temperature for at least two hours for proper readings. The tank should remain upright.
2
Secure the cylinder yoke connector of the cryosurgical unit to the gas cylinder and hand tighten.
Yoke Connector
To test the cylinder pressure and yoke connector assembly, keep the ON/OFF valve on the LLCO2 in the “OFF” position and then open the cylinder valve fully by the handwheel. A reading between 650 and 800 psi (blue zone) should be indicated by the pressure gauge when opening a full cylinder. Pressure will depend on the fullness of the cylinder and temperature. If any leaks are heard, tighten the yoke connector as necessary.
Handwheel
OFF Yoke Connector
3
If the cylinder pressure is less than 650 or more than 800 psi, the system should not be used. If less than 650, the cylinder may need to be refilled. If more than 800, it is advisable to vent the cylinder.
Ideal Pressure Zone
To vent the cylinder, turn the gas cylinder master valve completely OFF. Slowly loosen and remove the yoke connector of the LLCO2 to the gas cylinder. You may hear a hissing sound as residual gas in the feeder hose is released. Point the cylinder away from yourself and slowly open the cylinder master valve just enough to hear gas steadily being released. After approximately 15 seconds, close the valve.
Master Valve
Yoke Connector
4
Once the procedure has been followed, reconnect the pressure gauge block yoke connector and open the gas cylinder valve to observe that the gas pressure is now appropriately in the blue zone.
Your LLCO2 is now ready to use. Remove the protective sleeve that covers the freezer tube of the instrument. Save the sleeve for protection as the inner tubing is fragile.
Choose an appropriate sterilized cryotip with a clear plastic shield and install it using an aseptic technique. Hand tighten only.
Shield Tip Shield on Tip
5
With the master cylinder valve open and the probe in position, turn ON the ON/OFF switch.
ON
Test the unit for proper operation by first pointing the tip toward the floor while squeezing the freeze trigger.
Point tip towards floor
Apply the end of the tip to the tissue being treated.
6
Firmly squeeze the trigger to freeze or push the trigger forward to lock it in the freeze mode. Freeze time is usually 1 – 3 minutes based on clinical requirements.
At the end of freeze time, release the trigger to defrost. Turn the ON/OFF switch to OFF and prepare for the next procedure. OFF
When finished with treatment, turn the ON/OFF switch OFF and shut the gas cylinder valve. When changing cryotips between treatments or if a treatment requires more than one cryotip, the ON/OFF switch must be in the OFF position. It is recommended that the practitioner wait at least five (5) minutes before removing the cryotip after use as unexpected cryo damage can occur to the unprotected epithelium of the operator’s hand. To shut down the unit, be sure to switch the ON/OFF switch to OFF and remove the cylinder yoke connector. At the end of the day, shut off the supply cylinder by turning the cylinder valve in the direction indicated on the valve. Follow the manufacturer’s instructions for sterilizing the cryotips and sanitizing the unit.
7